Orders
|
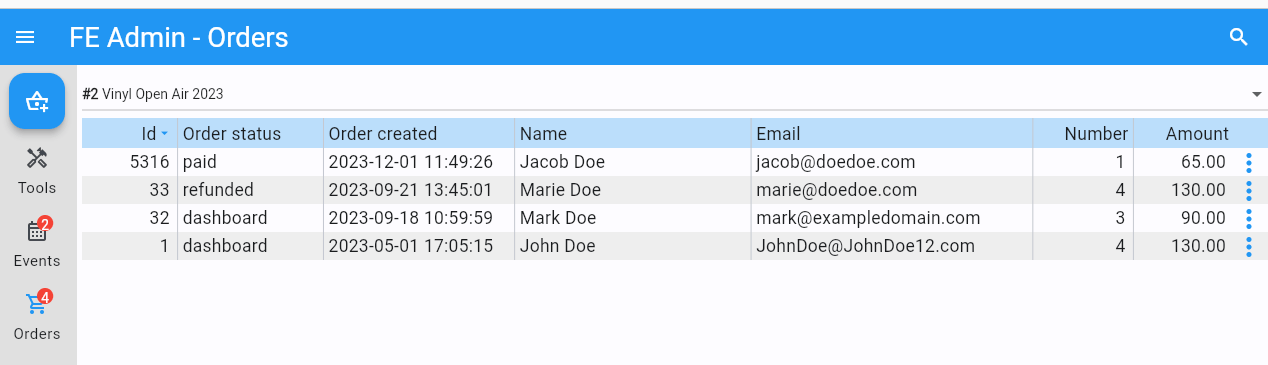
Choose your event in the drop-down box and it will show you all the orders of the specified event. Sort orders by clicking on the header descriptions. On smaller screens select the filter-icon and choose on which field to sort.
Double clicking/tapping on a card or line brings you straight to the order details.
Pulling down the list triggers a refresh of the orders.
Adding a new order can be done by clicking/tapping the +-icon. The order will have the order status Dashboard.
Searching
Searching is done on Id, Name, Email, Order created, Payment status and Custom status.
Searching starts after every typed character.
Customer support
Circumstances may cause customers not to receive an order e-mail and thus request help from the event organisation. Every order that has been paid has an order number in the description of the payment statement in the credit card or banking environment.
So when a customer reports, the first question should be: “What is your order number?”.
The second question should be: “What are the last 4 digits of your credit card or bank number?”, so you can verify the claim.
This information is visible in the Details choice of the popupmenu. On smaller screen press the information-icon in the header.
If the order id is not listed in you current event, it may be part of another event if you are working with multiple events. You can search for an order id in all events by searching for ‘@{ORDER-ID}’ and ENTER. So for example, @123.

|
Orders popupmenu
Details
Show the detailed payment information, the value of every input field and how many tickets of every type where bought.
By default the Payment information is not visible. Just click/tap the dropdown icon to show the info, if you are allowed.
Note
All detailed payment information is stored at Mollie; the Fast Events plugin does not keep copies of this information.
Email
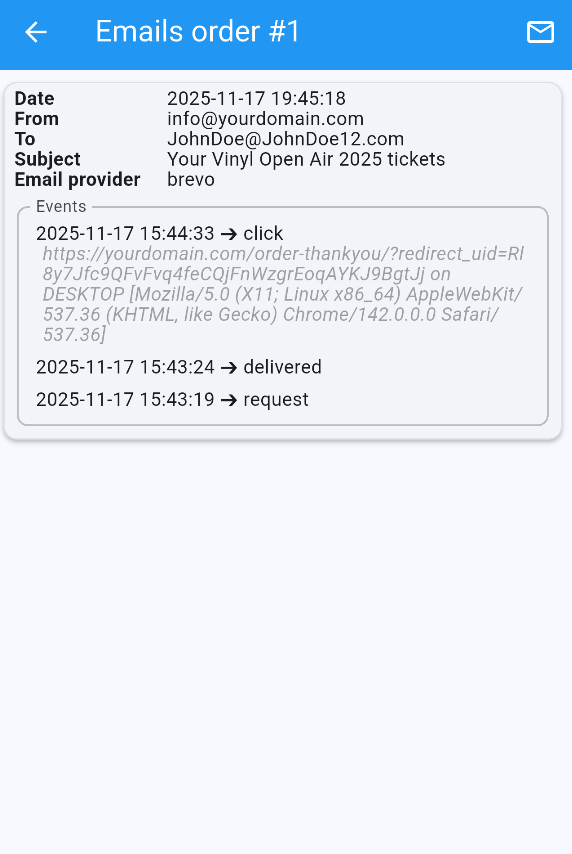
An overview of the order‑confirmation emails sent is displayed, and if email webhooks are configured, it will also show the various events reported by the email provider — provided, of course, that you configured them during the setup of your email provider.
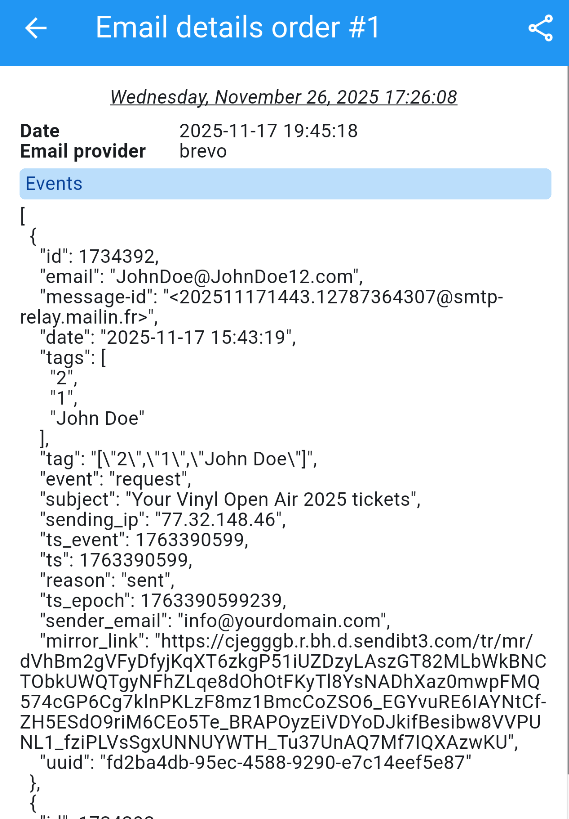
Tapping the card shows the raw email‑webhook information sent by the email provider.
Sliding the card left or right lets you remove this email log.
The email icon opens a pop‑up window that lets you resend the order‑confirmation email. The default address is the one used during ordering, but it can be changed.
Share

Share the link or the PDF of all tickets or invoice.
You can only share tickets if the tickets flag in the event definition has been set. Likewise for invoices.
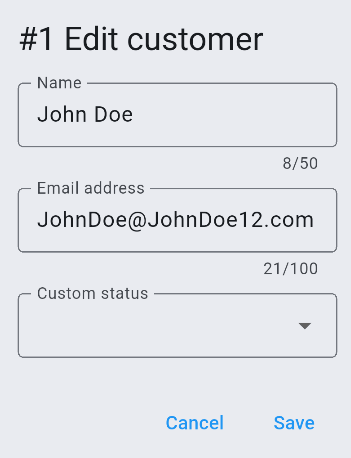
Edit customer
Change the name, emailaddress and customer status of the customer.
Refund

Refund order while deducting the costs as configured in the Refund costs parameter in the Settings-menu.
Warning
Preferable do not use the Mollie, Stripe, or PayPal dashboard for refunding.
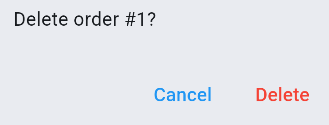
Delete order
Delete order and all related e-tickets.
Delete tickets
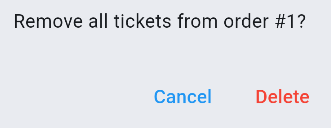
Remove all tickets from the order. Download is no longer possible.
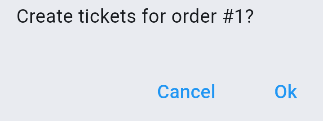
Create tickets
Create tickets for an order. This is only possible if the order has no tickets yet. If these are new tickets, it’s advisable to email the customer the updated ticket information, since the QR codes have changed.
Checkin
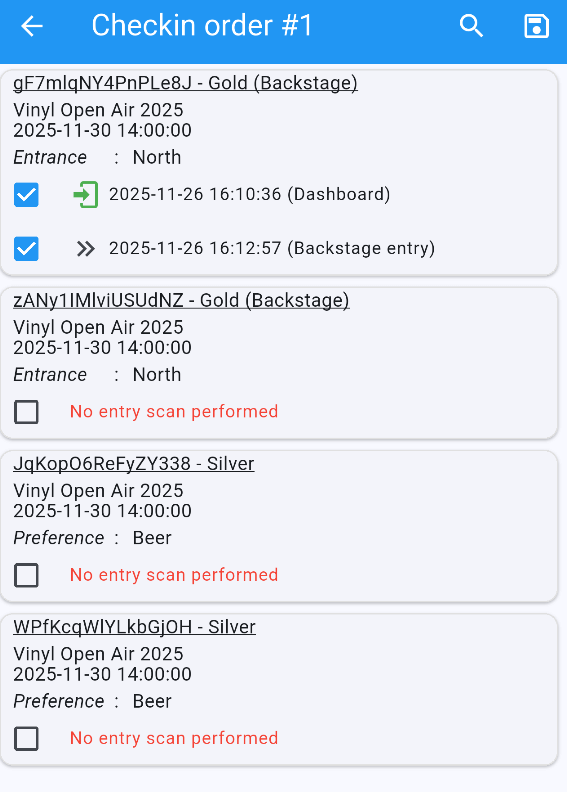
You have the option to put tickets from the order on scanned or vice versa.
If a Level scan and Exit scan have been scanned, they will be shown as well.
If you un-check a Start scan all associated Level scans and Exit scans will be removed as well.
If for whatever reason you want to invalidate a ticket, you could use the submenu Delete tickets
of the popupmenu or simply check the Start scan, which means the ticket-holder no longer can pass the entrance.
Usually it is best to use the latter option, because the entry remains visible in an export of all tickets.
This is obviously not the case when the tickets are removed.
Error log
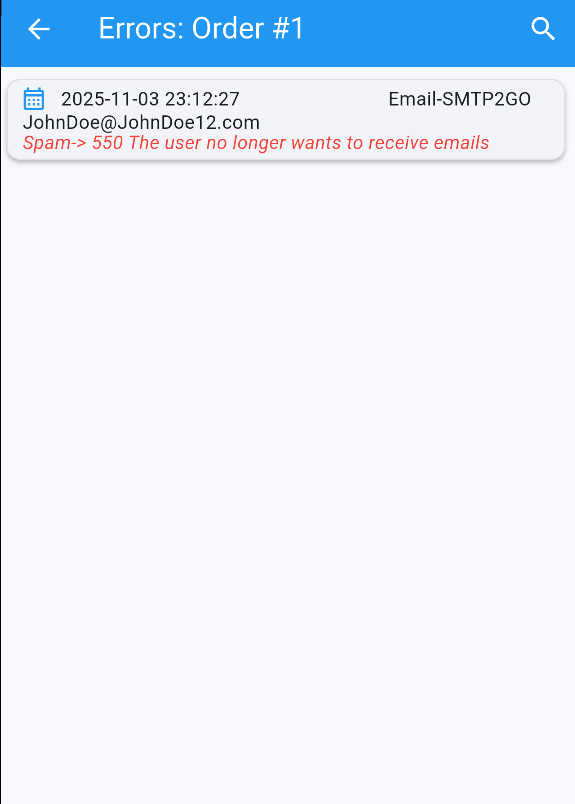
Any errors related to this order. In most cases, it is an incorrect email address that caused a bounce, or the recipient marked the message as spam.
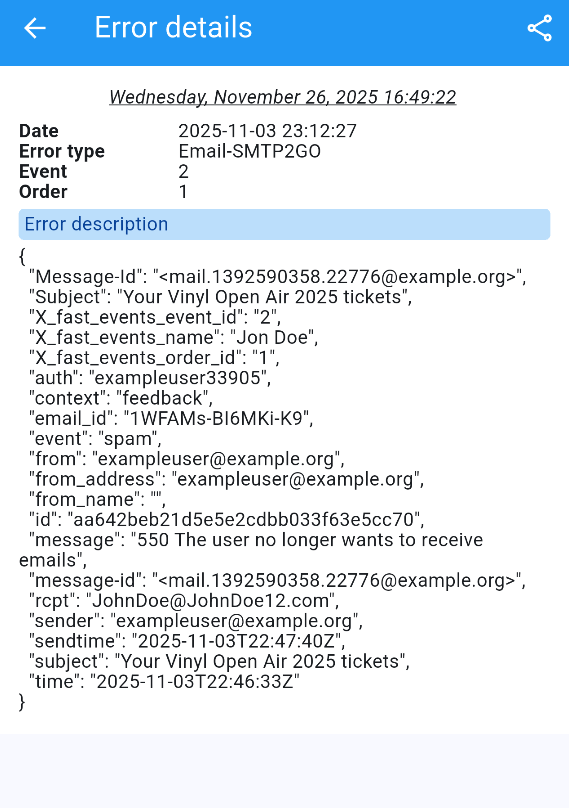
If you tap on the card, detailed raw information - if available - is shown.
Note
Bounce, spam reports, or any other events related to an order‑confirmation email are visible in the logging system only if email webhooks are enabled.